Renovating your kitchen can be a costly endeavor, and replacing the kitchen cabinets can account for a big chunk of that cost. On the other hand, painting kitchen cabinets is an excellent way of transforming your kitchen at a fraction of the cost. But painting is more than just applying a few coats of paint. It takes time, preparation, and hard work to get it right. So we’ve compiled an exhaustive guide on painting kitchen cabinets to help you avoid some of the biggest blunders most people make when painting their kitchen cabinets.
Assess Your Kitchen Cabinets
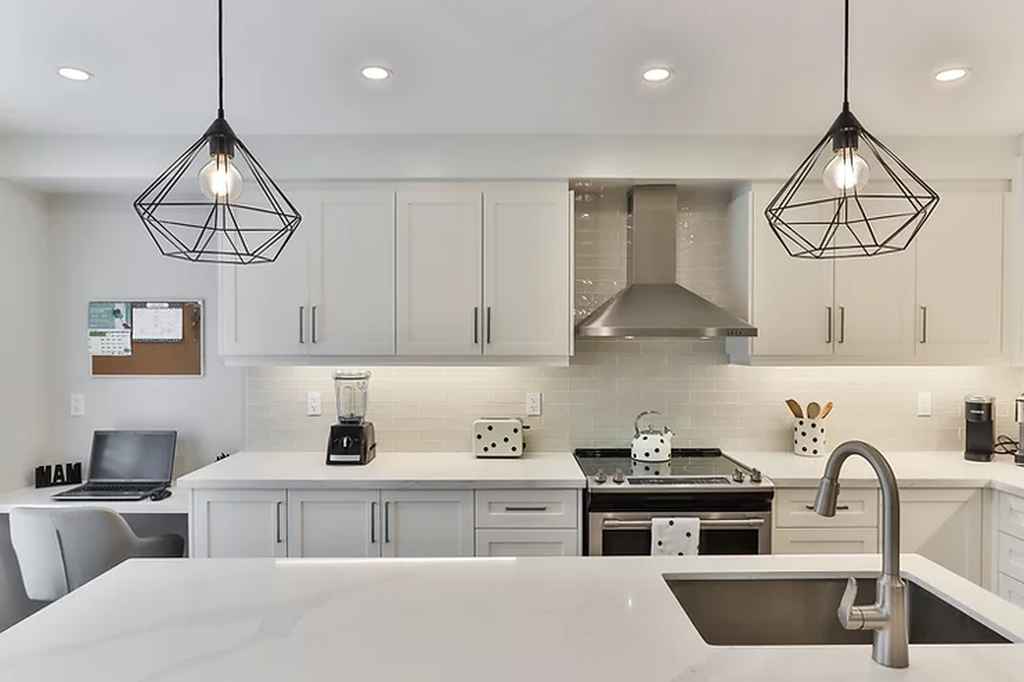
Before you head out to the paint store, you need to examine your kitchen cabinets to determine if painting them will work. If your kitchen cabinets are old and frail or the woodwork is warped and badly damaged, you may want to consider replacing them with modern kitchen cabinets.
You should also consider the type of kitchen cabinets you have. You can easily repaint metal, wood, and wood laminate kitchen cabinets, but plastic laminate kitchen cabinets can be challenging. They often need special paints and techniques to ensure the paint bonds to the material.
When choosing paint for the kitchen cabinets, go for quality paint to give you better coverage and results. You can use latex or oil-based paints since both will provide a good finish. But if you choose latex paint, ensure its 100% acrylic formulation as it’s more durable and adheres better to the wood than vinyl acrylic paints.
Remove Doors and Drawers
Start by emptying the cabinets, clearing your kitchen counters, and removing any free-standing kitchen appliances, tables, and other furniture. Cover the flooring and countertops with rosin paper and mask off the wall around the cabinets to protect them from backlash. To protect the rest of the house from fumes and dust, tape plastic sheeting over fixed appliances, windows, and doorways.
Remove handles, hinges, screws, doors, shelves, and drawers. Using tape, label each door with a number and corresponding location to keep track of which door goes where. You should also number the bottoms of the drawers and the cabinet edges. Remember to keep the hinges and screws in a plastic bag or jar for safekeeping.
Clean and Prep Surfaces
No matter how clean you think your kitchen cabinets are, you’ll want to scrub all the surfaces to get rid of any residue and grease. You can use regular household cleaners, but if they aren’t effective, opt for a stronger cleaner such as trisodium phosphate (TSP). Once the kitchen cabinets are clean, rinse with water but don’t soak, and let them dry.
Once they’re completely dry, use an abrasive pad dipped in a liquid deglosser to scrub down all the surfaces. Vacuum the cabinet’s interior and exterior to remove any lingering dust and rub them down with a cloth to remove any residue.
Sand and Prime
Lightly sand the front and back and all sides of the doors, and don’t overlook the door edges. You can use a rotary sander on the flat areas and hand sand the hard parts. If you’re simply giving your cabinets a facelift, you don’t have to sand the cabinet’s interior. Lightly sand the surface of the old paint adheres well to the cabinets. This provides the new paint with a clean, rough, and firm surface for better adhesion.
You should also sand shiny parts to deglaze the remaining finish. If the old paint is flaking off, consider sanding it to bare wood and blend the edges where the old paint meets the wood. Vacuum the sanding dust and wipe down the surfaces you want to paint with a cloth.
It’s now time to apply a primer. Apply an even coat of primer-sealer to the surfaces. Primer-sealers make for a great base for water-based paint, reduce the need to deglaze and sand old finishes and ensure a well-adhered finish coat. If you’re changing from black kitchen cabinets to light-colored ones, you might want to tint the primer to match your final color. After the primer dries, lightly sand the surfaces, vacuum the sanding dust and wipe with a tack cloth.
Apply Paint
You’re now ready to paint. If you’re keeping the same color, two coats of paint will be sufficient, but if you’re transitioning from a dark color to a lighter one, you may have to apply up to three coats. Work from top to bottom, applying paint to the cabinet’s exterior and interior. Let the paint dry for four hours between coats and sand lightly, making sure to clean up all sanding dust before painting. Paint the doors, shelves, and drawers on the working table to reduce the chance of sags, drips, and runs. Let the kitchen cabinets dry, then put back all the pieces.
Conclusion
While you can get a professional to paint your kitchen cabinets, you can save some cash by doing it yourself. Follow these steps, and you’ll successfully transform your space and bring your kitchen cabinets ideas to life. Do you have any other tips on how to paint kitchen cabinets? Share in the comments.
Author’s Bio:
Ronald Pratt is a mechanic specialist who also enjoys working in the garden to make the perfect landscape. He can repair everything that’s related to a house and garden. Everything in his house is made by his hands. his free time he prefers surfing the Internet, reading and sharing his knowledge creating content.